Sew a button on properly: proper instructions
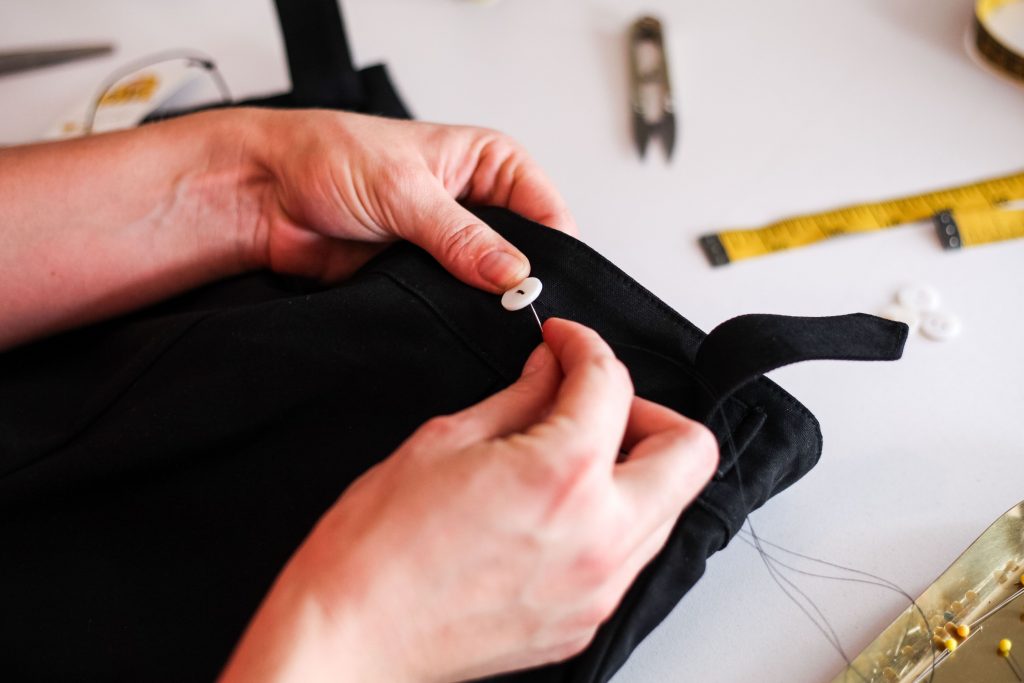
What you need
You need a replacement button that matches the original in size, thickness, colour and number of holes; suitable sewing thread; a hand-sewing needle with an eye large enough for the thread but fine enough for the fabric; small sharp scissors; a pin or tailor’s chalk; and a toothpick, matchstick or a short piece of card. A thimble is useful for denim, coats and other dense fabric. Polyester all-purpose thread is appropriate for most clothing. Use stronger button or upholstery thread for a heavy coat, but avoid thread so thick that it jams in the button holes.
Inspect the garment first
Find any remaining buttons and compare their position, direction and thread colour. If the button has only come loose, do not simply stitch through the old tangled thread: unpick it and start again. Examine the fabric around the missing button. Thin, torn fabric cannot hold a button reliably; reinforce the reverse side with a small matching patch or interfacing before sewing. On a shirt, mark the correct position by laying the buttonhole over the spot and placing a pin through the centre. This is more accurate than estimating from the spacing of the other buttons.
Method
1. Prepare the thread
Cut about 45–60 cm of thread. Longer thread tangles and wears as it passes repeatedly through the cloth. Thread the needle and bring the ends together, then tie a small knot at the doubled end. For a very fine fabric, use a single strand instead, knotting one end; doubled thread is stronger but can look bulky. If the button is an exposed feature, choose a thread colour that matches the button or the existing stitches. For a concealed button, matching the garment is usually neater.
2. Anchor the first stitch
Work from the inside of the garment so the knot is hidden. Bring the needle to the right side at the marked centre. Make two or three tiny stitches in the same area, close together, to create a firm base. Place the button over this point. If it has four holes, align them in the same direction as neighbouring buttons: commonly parallel lines on a shirt, but sometimes crossed stitches. Put the toothpick or matchstick across the top of the button. It creates a little space, called a shank, between button and fabric.
3. Sew through the holes
Push the needle down through one hole and fabric, then come back up through the opposite hole. Repeat this pair of holes five or six times, keeping the button in place but not pulling the thread tight around the toothpick. For a four-hole button, sew the second pair five or six times as well. You may make a cross or two parallel bars, provided it matches the other buttons. Keep stitches neat by entering and leaving the fabric at nearly the same points on the reverse. Check after several stitches that the button has not drifted away from its mark.
4. Form the thread shank
Bring the needle up through the fabric but do not pass through a button hole. Remove the toothpick. Wrap the thread tightly around the stitches between the button and the fabric four to six times. This thread shank gives the buttonhole room to sit behind the button, especially on thick shirts, cardigans and coats. A flat button sewn hard against the cloth may look secure but will strain the fabric whenever it is fastened.
5. Secure it on the inside
Pass the needle to the wrong side. Make a small stitch under the existing threads, draw it through until a loop remains, pass the needle through that loop, and pull tight to form a locking knot. Repeat once. Trim the thread close to the knot without cutting the fabric. Avoid tying a bulky knot around the button itself; it catches and looks untidy. If you are repairing a high-stress button, such as the waistband of trousers, add a small flat backing button on the inside and sew through both buttons. This spreads the pull over a larger area.
How to tell it has worked
The button should sit centred on its buttonhole and match the orientation of the others. It should wiggle slightly but not flop. Fasten it through the buttonhole: the fabric should lie flat without pulling, and the button should pass through without forcing. Look at the reverse side too. It should have compact stitches and knots, not long loose loops that can catch on skin or other clothing. Give the button a firm, controlled tug rather than a violent pull; it should stay put without the fabric puckering.
Common mistakes
The most common error is sewing the button directly against the fabric. Use the toothpick every time unless you are attaching a button with a built-in loop shank. Another is using thread that is too long, which produces knots and frayed thread. Do not pull every stitch as hard as possible: this puckers light fabric and weakens it. Sewing with a buttonhole misaligned by even a few millimetres can make the whole front edge twist, so locate the position with the actual buttonhole. If the button has a metal or plastic shank on its back rather than holes, stitch through that shank repeatedly, then secure the thread on the reverse; do not add a separate wrapped shank.
Safety and care
Keep needles and loose buttons away from children and pets; both are choking hazards. Use a thimble rather than pushing a needle against your fingertip through heavy fabric. Store the needle in a case or pinned to a scrap of fabric when you pause. After laundering, inspect repaired buttons before wearing the garment. If the fabric begins to tear around the stitches, reinforce it before the button pulls free and enlarges the damage.