Restore an old bicycle: proper instructions
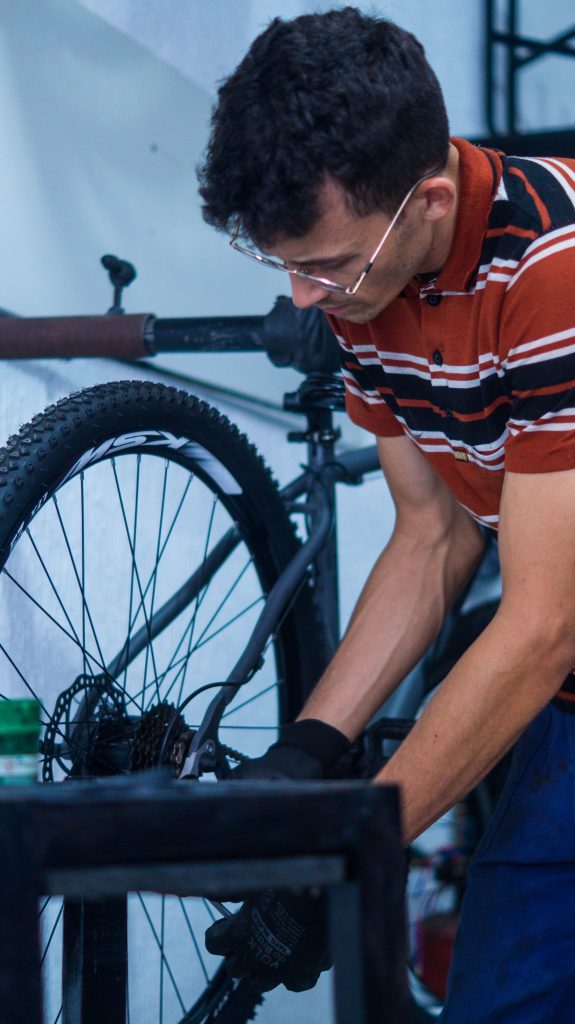
Restoring an old bicycle is a controlled inspection and repair job, not simply a repaint. A sound steel-framed roadster, shopper or mountain bike can be made safe and useful with ordinary hand tools. Do not attempt to straighten a visibly bent fork, repair a cracked frame, or reuse badly corroded brakes, rims, cables or tyres. Those are replacement or professional-assessment jobs. This guide assumes a conventional bicycle with rim brakes and a chain drive; hub gears and coaster brakes need their maker’s instructions.
Tools and materials
- Bicycle stand or a stable way to support the bike; clean rags and a degreaser
- Allen keys, 8–17 mm spanners, adjustable spanner, screwdrivers and tyre levers
- Pump with a pressure gauge; spoke key only if you understand wheel truing
- Penetrating oil, light lubricant, waterproof grease and chain oil
- New inner tubes, tyres, brake blocks, gear/brake inner cables and outer housing as required
- Fine abrasive paper, masking tape, rust converter and touch-up paint for cosmetic steel-frame work
- Ruler or vernier caliper, torch, nitrile gloves and eye protection
Safety and first decisions
Work on a level floor in good light. Keep solvents away from flames and do not spray lubricant on braking surfaces. Wear eye protection when wire-brushing rust or releasing tight fasteners. If a fork blade, handlebar, stem, crank, rim or frame tube is cracked, deeply creased, seriously pitted, or has a dent at a joint, stop: replace the component or ask a competent cycle mechanic. A seized quill stem can split a frame if forced. Never ride a bicycle until the brake, steering and wheel checks at the end are passed.
Measured restoration steps
-
Photograph both sides before dismantling. Measure and note tyre size from the sidewall, seatpost diameter if known, chain width, cable routing, saddle height from the centre of the bottom bracket to the saddle top, and handlebar angle. Mark cable guides and washer order with masking tape.
-
Wash off mud with water and detergent, then degrease the chain, sprockets and derailleur. Dry the bicycle. Turn each pedal, wheel and the handlebar slowly. Record rough bearings, tyre cracks, loose spokes, missing fasteners and damaged cable housing before buying parts.
-
Inspect the frame and fork under bright light, especially the underside of the down tube, around the bottom bracket, head tube, dropouts and brake bridges. Surface rust that sands back to solid metal is normally cosmetic. Photograph any suspect crack; paint lifting in a line or rust emerging from a joint deserves a professional inspection.
-
Remove wheels and deflate old tyres. Check the rim sidewalls: on rim-brake wheels, a concave braking track, cracks around spoke holes or a raised wear indicator means replace the rim or wheel. Fit tyres that match the marked diameter and whose width clears the frame and mudguards by at least 4 mm on each side. Install new tubes if old rubber is brittle, patched repeatedly or unknown in age.
-
Service wheel hubs only if there is play or grinding. With the quick release or axle nuts correctly secured, hold the rim and push sideways. There should be no perceptible knock. For cup-and-cone hubs, remove one side at a time, retain the bearing balls, clean, grease and reassemble. Adjust so the axle turns freely but has no play once the wheel is clamped in the frame. Cartridge-bearing hubs are normally replaced rather than packed.
-
Remove the chain if a chain tool is available. Measure 12 complete links pin-centre to pin-centre: a new chain is exactly 12 inches or 304.8 mm. If it measures 1/16 inch (about 1.6 mm) longer, replace it; replace worn sprockets too if a new chain skips. Clean reusable chain parts, dry them and apply a small drop of chain oil to each roller, wiping the outside clean.
-
Renew brake blocks if their grooves are gone, rubber is hardened, contaminated or cracked. Set each block square to the rim track, never the tyre, with 1–2 mm clearance when released. Set a slight toe-in where the brake design permits: the front edge meets first by about 0.5–1 mm. Replace frayed inners or cracked outers, then ensure a firmly pulled lever cannot touch the handlebar.
-
Replace gear cables if shifts are stiff or inconsistent. Route housing in smooth curves with ferrules fitted. Shift to the smallest rear sprocket, pull cable tension just snug, then index one click at a time using the barrel adjuster. Confirm the high and low limit screws stop the derailleur before the chain can go into the wheel or off the smallest sprocket.
-
Clean steel paintwork with soapy water. Sand only loose rust and feather its edge; avoid removing sound paint. Apply rust converter as directed, then thin touch-up coats. Do not paint serial numbers, brake tracks, bearing seats, threaded holes or cable contact surfaces. Clean chrome with mild polish; deep rust pits cannot be made structurally sound by polishing.
-
Grease threaded pedal threads before refitting. The left pedal has a left-hand thread and tightens anticlockwise; the right tightens clockwise. Refit wheels fully into their dropouts and secure axle nuts or quick releases. Pump tyres to the range printed on the sidewall, choosing a pressure suitable for tyre width, rider load and surface rather than automatically using the maximum.
Quality checks
- Lift each wheel and spin it: it must clear pads and frame without a large side-to-side wobble.
- Apply each brake hard while pushing the bicycle; the wheel must lock or strongly resist without lever contact at the bar.
- With the front brake held, rock the bike forwards and back. There must be no headset knock. Turn the bars lock to lock; steering must not bind.
- Check all gears on a short, quiet test ride. Shift only while pedalling gently and confirm the chain stays on every usable sprocket.
- After the first 10 km, recheck axle security, brake cable pinch bolts, tyre pressure and chain lubrication.
Common mistakes
- Using penetrating oil as lasting chain lubricant: it cleans and frees parts but leaves poor long-term lubrication.
- Fitting brake pads above the rim track or allowing oil onto the rim. Replace contaminated pads rather than trusting solvent alone.
- Over-tightening cup-and-cone bearings until they feel smooth in the stand but bind under the clamped wheel.
- Forcing a seized stem or seatpost. Apply penetrating oil patiently and seek help before damaging the frame.
- Calling a bicycle restored after appearance work while ignoring tyre age, cable condition and rim wear.