Learn to solder two wires properly: proper instructions
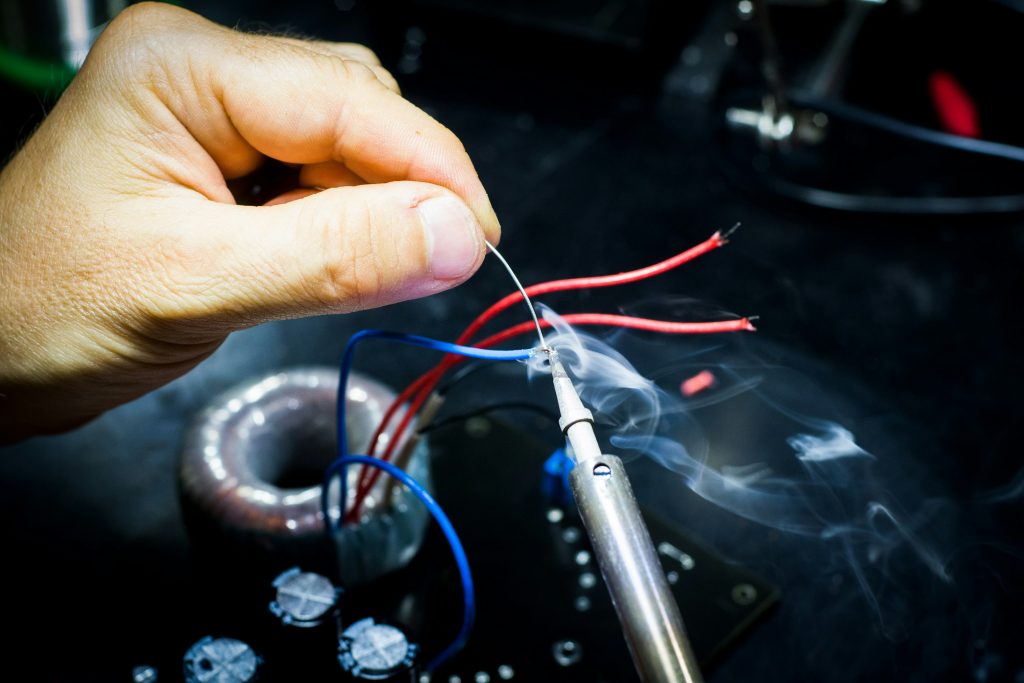
A sound wire splice is electrically continuous, mechanically supported, insulated, and made without cooking the insulation. Solder is not glue: the copper conductors should hold together before solder is applied. This practical method joins two stranded low-voltage copper wires end to end and insulates the result with heat-shrink tubing. It is not a repair method for mains cables, building wiring, chargers, vehicle safety systems, medical equipment, or any cable whose certified construction must be preserved.
Tools and materials
A temperature-controlled iron, safe stand, tip cleaner, electronics solder with rosin or no-clean flux core, and eye protection.
Compatible stranded copper wires, wire strippers, cutters, non-flammable clamp, heat-shrink tubing, and a heat gun.
A multimeter for continuity and isolation checks, plus ventilation or fume extraction that carries flux fumes away from you.
Do not use plumbing solder or acid flux: their residues are unsuitable for electronics and can corrode connections. For small work, around 320 to 370 degrees Celsius is a common starting range, but use the solder maker’s guidance and a clean suitable tip rather than compensating with long heating.
Prepare safely
Unplug and de-energise the wire. Disconnect batteries too; a low-voltage battery can deliver damaging fault current. Remove rings and watches, clamp the work instead of holding it near the joint, and return the iron to its stand whenever it is not in your hand. Flux fumes irritate, so ventilate. The tip stays hot after switching off. Wash hands after soldering and keep food away from the work area.
Numbered procedure
Cut back to bright, undamaged copper. Check wire gauge and insulation suit the intended load; solder cannot make undersized wire safe.
Slide a correctly sized heat-shrink sleeve onto one wire before stripping. Move it far from the heat. It should cover the finished bare connection and overlap good insulation on both sides.
Strip about 8 to 12 mm from each end with the right stripper setting. If strands are nicked or cut, trim and repeat. Twist strands lightly only to keep them together.
Overlap and interlace or wrap the stranded ends into a compact inline mechanical splice. It should remain together before solder. Avoid a large lump that cannot fit in the sleeve.
Clamp the splice. Clean the hot iron tip and add a very small amount of fresh solder to it for heat transfer.
Touch the iron’s broad side to both conductors. Feed solder to the opposite side of the warmed copper, not to the iron alone. It should flow through the strands. Feed just enough to wet and join them.
Remove solder, then iron, and keep the joint absolutely still while it cools naturally. Do not blow on it or move the clamp.
Inspect, insulate, and test
Under good light, a good splice is compact, with solder wetted through visible strands and no sharp spikes or huge blob. A dull, grainy, cracked joint often means movement while cooling or inadequate heating; reheat it with suitable flux rather than piling more solder on top. Once cool, move the heat-shrink over the bare section and heat it evenly with a heat gun until snug. Do not routinely use an open flame, which can scorch insulation and introduces unnecessary ignition risk.
With the circuit still unpowered, test continuity end to end with a multimeter.
Check that the repaired conductor has no continuity to adjacent conductors or shielding that should remain isolated.
Perform a gentle pull test holding insulated wire on each side. It must not move or separate. Do not use a destructive tug.
Reconnect only for a safe low-voltage functional test, watching for intermittent operation, heating, or voltage drop under the intended load.
Common mistakes
Forgetting to fit heat-shrink first leaves no proper way to cover the joint without redoing it.
Too much solder creates a rigid lump and lets solder wick up flexible wire, making fatigue likely beside the repair.
Applying solder to a cold joint gives poor wetting. Heat the copper first.
A dirty or undersized tip makes heating slow and melts insulation. Clean the tip and use adequate controlled heat.
Soldering without a mechanical splice makes solder carry bending loads. Keep repeated flexing away from the repaired section.
Tape alone is not a durable substitute for appropriate insulation and strain relief.
Limits and practice
Replace rather than hobby-splice mains leads, moulded appliance cords, extension leads, charging leads with failed strain relief, and safety-critical cables. They may require rated connectors, enclosures, fusing, and compliance checks. Practise on scrap wire first, then cut open a practice joint to see whether solder reached the strands without excessive wicking. Reliable low-voltage soldering comes from repeated inspection, continuity testing, and restraint with heat and solder, not from a shiny surface alone.
Technique checks that improve reliability
Tin the iron tip, not necessarily the wire ends separately. Pre-tinning very fine or badly frayed wire can help, but it can also make a splice bulky if excessive solder is added before the conductors are joined. Keep the tip clean throughout the job: burnt residue is an insulator and leads to prolonged heating. If flux is needed, use a small quantity formulated for electronics and follow its cleaning guidance. A clean joint does not have to be mirror bright; wetting, compact shape, insulation condition, and test results matter more.
Plan strain relief in the finished product. Heat-shrink insulates but may not protect a joint that will be pulled, bent, or vibrated. Route the cable so movement is supported by the original insulation and enclosure, or use an appropriately rated connector where disconnection is expected. For multi-core cable, stagger individual splices so no single thick ridge forms, insulate each conductor individually, then use a larger outer sleeve where appropriate. Label polarity before cutting paired wires, photograph unusual wiring, and verify polarity with the meter before reconnecting a sensitive low-voltage device.