Build Your Own NAS: proper instructions
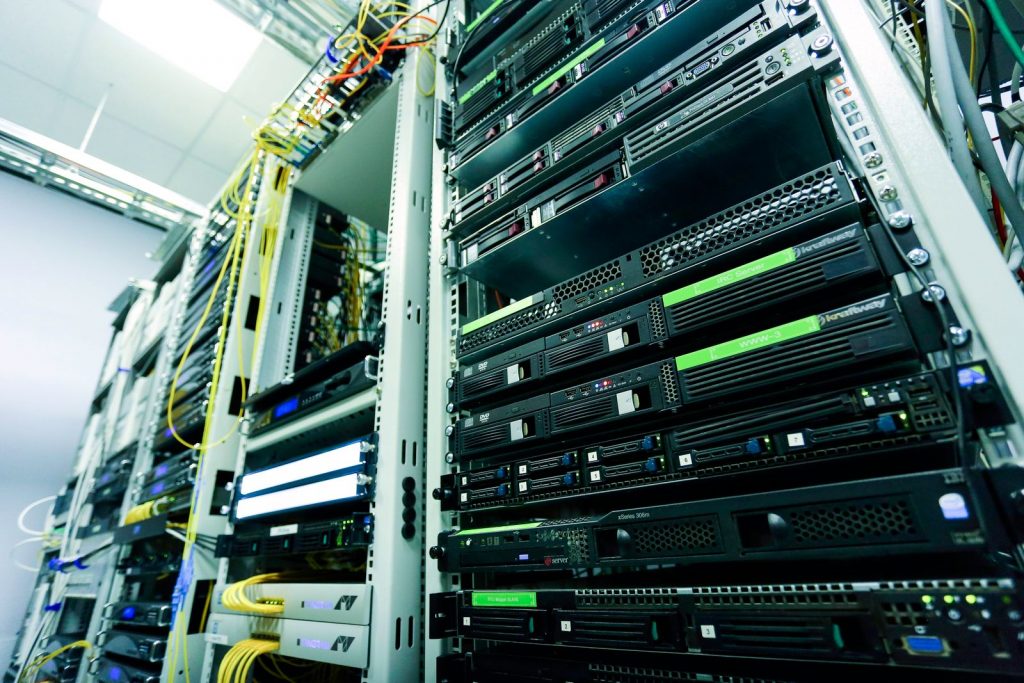
A network-attached storage (NAS) box is a small server that keeps files in one place and makes them available to computers on your home network. It is useful for family photographs, documents, media libraries and PC backups, but it is not a substitute for a second copy elsewhere. This guide uses a modest x86 computer and an operating system with a web interface such as TrueNAS SCALE or OpenMediaVault. Either is suitable; read the current hardware requirements for the release you choose before buying parts.
Plan the machine before buying it
Decide what it must do. File sharing and backups need little processor power; virtual machines, media transcoding and many simultaneous users need more. Count the drives you need now and leave room for growth. Prefer a case with proper drive bays and airflow over a tiny case with drives balanced on cables. Wired Ethernet is strongly preferable. A used office PC can make a good starter NAS if it has enough SATA ports, a reliable power supply and a case that can cool the drives.
- Choose at least two data drives if you want drive-failure tolerance. Matching capacity drives simplify planning.
- Use a separate SSD or small mirrored pair for the operating system where the platform supports it; do not install it on the data pool by accident.
- Buy a UPS if power cuts are common. It gives time for an orderly shutdown and reduces the chance of filesystem damage.
- Plan a backup destination: an encrypted external drive stored elsewhere, another NAS, or reputable cloud storage.
Prerequisites and safety
You need a computer, monitor and keyboard for first boot, Ethernet cable, bootable USB stick, storage drives, another computer to download the installer, and a router with spare LAN ports. Back up every drive before connecting it: installation and pool-creation screens can erase disks. Work on a non-conductive surface, disconnect mains power before opening the case, and hold drives by their edges. Avoid opening a power supply; capacitors can retain dangerous charge. Use a surge-protected socket or UPS, keep vents clear, and label drives by bay number.
Build and install
- Assemble the PC with its intended memory, boot device and data drives. Connect each drive securely with SATA data and power cables. Check that fans spin freely and that no cable can touch a fan.
- Enter firmware setup. Set sensible fan control, confirm all drives are detected, enable virtualisation only if you will use it, and set the USB installer first in boot order. Update firmware only using the manufacturer’s documented method and stable power.
- Download the chosen NAS installer from its official project site and verify its published checksum or signature where provided. Write it to a USB stick with a recognised imaging tool.
- Boot from the installer and install the operating system to the dedicated boot disk only. Remove the installer afterwards. Set a strong administrator password and record the initial IP address shown on the console.
- From another computer on the same LAN, open the web interface using that IP address. Apply current updates before exposing services. Give the NAS a DHCP reservation in the router or configure a documented static address outside the router’s automatic range.
- Create a storage pool from the empty data drives. A mirror protects against one drive failing; parity-style layouts improve usable capacity but are not backups and have their own disk-count rules. Select a layout deliberately and confirm the listed disks twice before accepting.
- Create separate datasets or shared folders such as
photos,documentsandpc-backups. Make named user accounts rather than sharing the administrator account. Give each user only the access required. - Enable SMB for Windows and general home-network file sharing. Set a clear share name and test access using the NAS hostname or reserved IP. Add NFS only for devices that need it, with limited client permissions.
Test it properly
- Copy a folder containing several large and small files from a wired computer. Compare file counts and open a selection after the copy.
- Log in as each ordinary user and check that permitted shares open while restricted shares do not.
- Restart the NAS from its web interface, not by pulling power. Confirm the pool imports cleanly and shares return.
- Run a SMART short test on every drive, inspect results, and schedule regular short and extended tests according to the platform’s guidance. Schedule filesystem scrubs or integrity checks if supported.
- Restore a test folder from your backup destination to a temporary location. A backup that has never been restored is unproven.
Backups, security and common mistakes
Follow the 3-2-1 principle where practical: three copies, on two kinds of storage, with one copy off-site. Snapshotting protects against accidental deletion and some ransomware events, but snapshots stored only on the NAS do not survive theft, fire or total pool failure. Schedule snapshots, set retention deliberately, and monitor available space. Encrypt off-site backup copies and store recovery keys separately.
Do not port-forward SMB, the NAS web interface, SSH or remote administration directly to the internet. For remote access, use a well-maintained VPN or a private overlay network and enable multi-factor authentication where available. Apply updates, disable services you do not use, use unique passwords, review administrator accounts, and configure email or push alerts for failed disks, SMART errors, scrub errors and low capacity. Keep an inventory of disks, serial numbers, pool layout and recovery steps offline.
- Common mistake: calling RAID a backup. It only reduces downtime after certain drive failures.
- Common mistake: mixing old disks without checking SMART health and power-on hours.
- Common mistake: filling the pool completely. Leave headroom for snapshots and reliable operation.
- Common mistake: unplugging the NAS to turn it off. Use controlled shutdown and test the UPS shutdown integration.
- Common mistake: granting every user write access to every share. Least privilege limits damage.
Review alerts monthly, replace suspect drives promptly, and verify backups after major changes. A modest, boring NAS with tested recovery is more valuable than an elaborate one that nobody can restore.