Build an Internet Radio: proper instructions
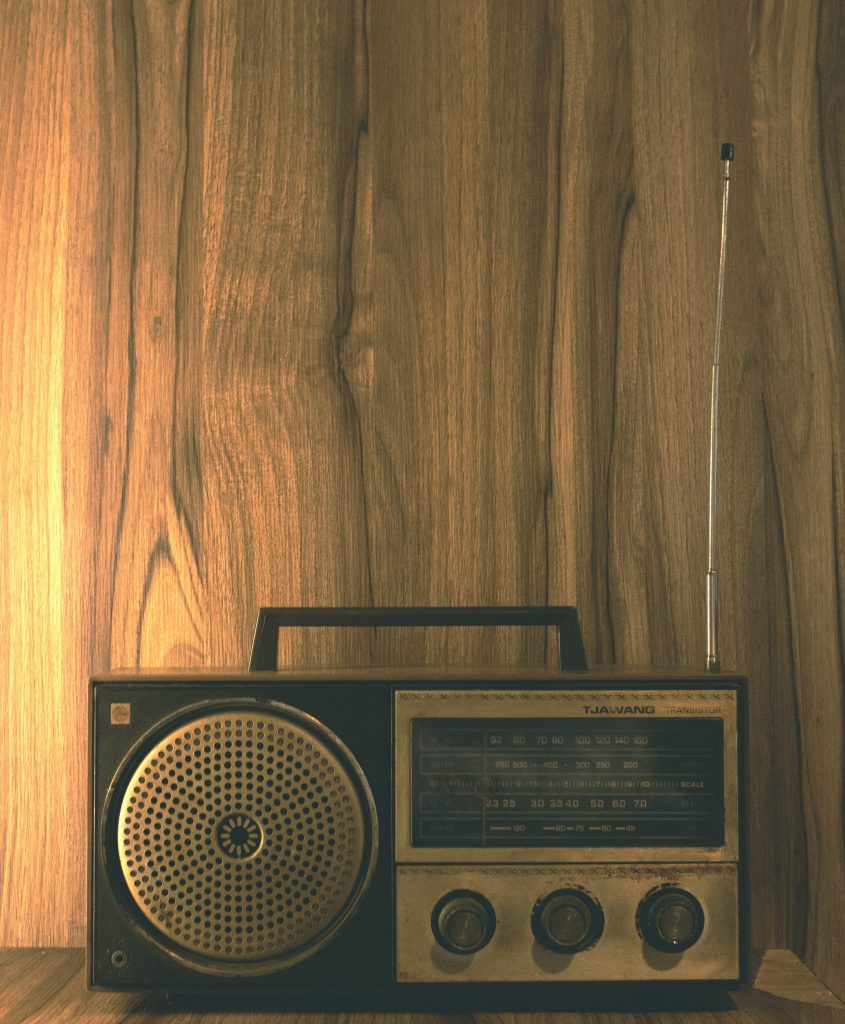
An internet radio is a dedicated device that plays online radio streams through a speaker, amplifier or headphones. A small computer with a screen and buttons makes a satisfying kitchen or workshop project, but a headless version controlled from a phone is also practical. The core is simple: reliable network access, an audio output you can trust, player software, and a small set of stations whose streams you have tested.
Plan around how it will be used
Decide where it will sit and who will operate it. For a bedside or kitchen unit, physical volume and preset buttons are worth the effort. For a hi-fi, a quiet mini PC or single-board computer feeding a USB DAC may be better. Wi-Fi is convenient but Ethernet is more reliable for initial setup and for locations with weak signal. Check whether your speaker is active, needs a line-level input, or needs an amplifier; never connect a line output directly to a passive speaker.
- Core parts: Raspberry Pi-class computer or spare small PC, official-rated power supply, microSD card or SSD, case, Ethernet or Wi-Fi, and a known-good audio connection.
- Audio choices: HDMI to a television, USB audio interface, supported DAC board, or analogue line out where the hardware offers one.
- Interface choices: small HDMI display, I2C display, USB keyboard, GPIO buttons with appropriate wiring, or web/phone control.
- Software choices: a lightweight Linux distribution plus MPD and a client, or a maintained purpose-built audio distribution. Follow its own hardware documentation.
Prerequisites and safety
You need another computer for downloading an operating-system image, a network connection, and a way to identify the radio’s IP address. Use a proper enclosed case before permanent use. Switch off power before changing GPIO wiring, and never put mains voltage anywhere near GPIO pins, breadboards or low-voltage audio boards. Use only the voltage the board expects. Keep liquids away from the project, strain-relieve cables, and avoid excessive headphone volume. If you build buttons, use internal pull-up configuration or correctly fitted resistors so inputs do not float.
Set it up step by step
- Choose an operating system suited to your hardware and download it from its official source. Verify the checksum if one is supplied, then write it to the selected microSD card or SSD. Confirm the target drive before writing because imaging erases it.
- Boot with a monitor and keyboard or configure documented headless access before first boot. Change the default password immediately, create a named administrator account where appropriate, and apply system updates.
- Connect Ethernet for setup if possible. Configure Wi-Fi only after updates, then reserve an IP address in the router so that phone controls and network shares can find the radio consistently.
- Connect the audio hardware. Select it in the operating system’s audio settings and test with a local sound file before installing a radio player. Set a conservative initial volume to protect speakers and hearing.
- Install and configure the selected player using its official documentation. For MPD-based builds, set the audio output device, mixer mode and a music or playlist directory. Enable the service to start at boot only after it plays reliably in a manual test.
- Create a playlist of station stream URLs from the stations’ own websites or directories that disclose stream details. Give entries clear names and include only streams you are authorised to listen to. Streams change, so keep the source page noted separately.
- Test each stream with the player. If a station fails, check the URL in a desktop player first, then inspect the player log for codec, TLS or network errors. Do not repeatedly increase buffer values without evidence.
- Add the chosen control method. A web client can provide station selection and volume from a phone. For physical buttons, wire one side of each momentary switch to ground and the other to the documented GPIO input, then use software debouncing and test one button at a time.
- Configure automatic time synchronisation and correct timezone. Accurate time improves logs and scheduled wake or sleep features. Finish by rebooting and confirming the radio resumes cleanly.
Testing and everyday reliability
- Play several stations with different codecs and bitrates for at least fifteen minutes each. Listen for drop-outs, distortion and unwanted resampling.
- Disconnect and reconnect Wi-Fi, or briefly unplug Ethernet, then confirm the player reconnects without requiring a rebuild.
- Test every button, display screen and volume control at low volume. Make sure the power-on default is not uncomfortably loud.
- Restart the device and check that the player service, audio device and intended preset are available.
- Check case temperature after an hour. Improve ventilation if the computer is hot or audio becomes unstable.
Backups, security and common mistakes
Back up the system image once stable and separately copy configuration files, playlists, station notes and any scripts. Keep a text record of hardware connections and GPIO pin numbers. Update the operating system periodically, use unique passwords, remove unused remote services, and restrict remote administration to the home network or a VPN. Do not expose SSH, web controls or MPD directly through router port forwarding. If using a third-party station directory or cloud service, understand what account and listening data it receives.
- Common mistake: connecting passive speakers to a low-level audio output with no amplifier.
- Common mistake: assuming every station web page contains a direct audio stream; use an official stream URL where available.
- Common mistake: troubleshooting network audio before proving local audio works.
- Common mistake: powering a board from an unreliable phone charger, causing clicks, resets or storage corruption.
- Common mistake: placing the device beside a sink or enclosing it with no airflow.
A small station list that works every time is better than hundreds of untested entries. Review it occasionally, replace dead streams, and restore from the saved image if experimentation makes the radio unreliable.