Build a wooden toolbox: proper instructions
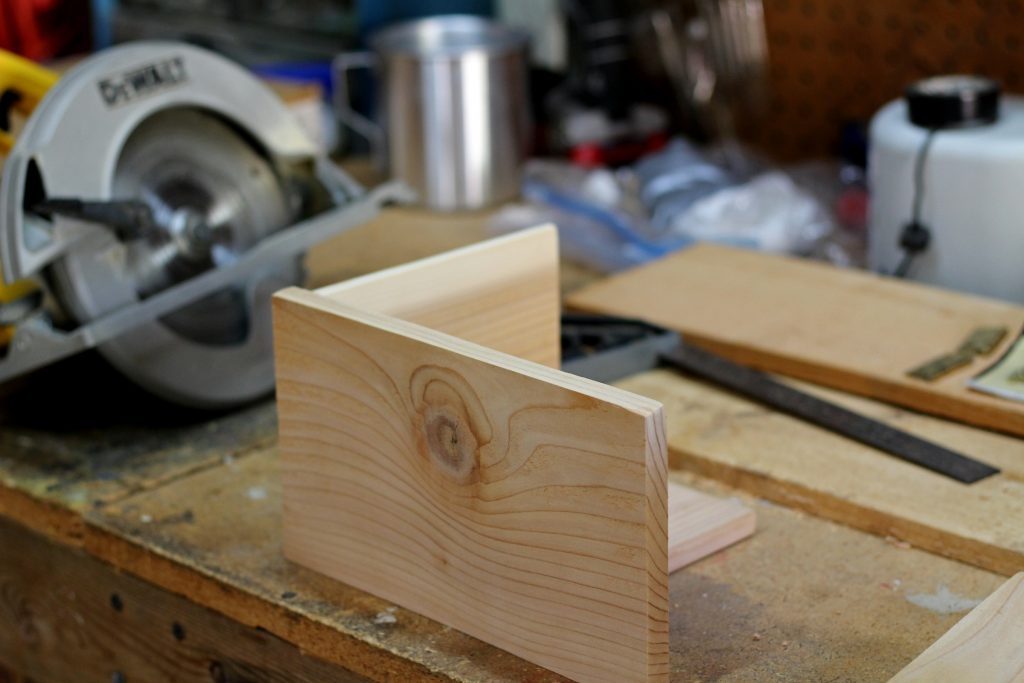
This sturdy open-top toolbox uses common softwood and simple screwed-and-glued butt joints. Its finished outside size is 400 mm long, 200 mm wide and 230 mm high to the top of the handle. It carries hand tools rather than heavy engineering equipment. The central handle is useful for transport and the raised end pieces keep saws, screwdrivers and loose items contained. Use dry, straight timber; construction timber that has twisted indoors will make accurate assembly unnecessarily difficult.
Tools and materials
- 12 mm exterior- or furniture-grade plywood, one piece at least 1,220 × 610 mm
- 38 × 38 mm planed softwood, 360 mm long for the handle
- Wood glue, 3.5 × 30 mm countersunk wood screws, 3.5 × 20 mm screws and 120-grit/180-grit abrasive paper
- Tape measure, square, pencil, marking knife, straightedge and clamps
- Hand saw or circular saw with guide, drill/driver, 3 mm pilot drill, countersink bit and 10 mm drill
- Jigsaw for handle openings, block plane or rasp, safety glasses, hearing protection and dust mask
- Optional water-based varnish, paint or hardwax oil and a brush
Cut list
| Part | Quantity | Finished size in mm |
|---|---|---|
| Base | 1 | 400 × 200 × 12 |
| Long sides | 2 | 400 × 110 × 12 |
| End panels | 2 | 224 × 200 × 12 |
| Handle | 1 | 360 × 38 × 38 |
Safety
Wear eye protection whenever cutting, drilling or driving screws, and wear hearing protection with powered saws. Use a dust mask when cutting plywood or sanding. Support the workpiece on a bench, clamp it before drilling, and keep hands out of a saw’s cut line. Disconnect a powered tool before changing blades or bits. Check for hidden nails, staples and screws in reclaimed timber. Do not use a damaged blade, split timber at a joint, or a toolbox to carry loads beyond what its materials and joinery can safely bear.
Measured build steps
-
Mark every panel from a straight factory edge. Measure diagonals on the 400 × 200 mm base: equal diagonals show the rectangle is square. Cut just outside pencil lines, then plane or sand to the line. Label inside faces so the neatest face will be visible.
-
Form the handle opening in each end panel. From the bottom edge, mark a horizontal line at 110 mm. On that line, mark two points 62 mm in from each side. Drill a 10 mm hole at each point, then cut between the holes with a jigsaw to make a 100 mm-wide opening. The material above the opening is a 90 mm-high bridge; round sharp internal corners with a rasp.
-
Dry-assemble the two long sides around the base. The sides sit on top of the base’s long edges, giving an outside width of 224 mm once the two 12 mm side panels are included. Put the end panels outside the ends of this assembly, which produces the specified 400 mm outside length. Check all four base corners sit flat and the long sides are parallel.
-
Glue and screw the base to the long sides. Run a thin continuous glue bead along one 400 mm base edge. Clamp the side flush with the base underside and ends. Drill five 3 mm pilot holes through the side, spaced approximately 60 mm from each end and then at 70 mm intervals. Countersink lightly and drive five 3.5 × 30 mm screws. Repeat on the other side. Wipe squeeze-out with a damp cloth.
-
Fit the end panels. Apply glue to the exposed end grain of both long sides and the 200 mm end of the base. Clamp one end panel flush to the base underside. Drill two pilot holes through the end panel into each long side and two into the base, keeping holes at least 18 mm from plywood edges. Drive 3.5 × 30 mm screws. Repeat for the second end, then measure the box diagonals across its top opening; adjust clamps until they match before the glue sets.
-
Position the 360 mm handle between end panels, centred left to right. Its ends bear against the solid area above the 100 mm openings. The handle top should be 230 mm above the base bottom, so it projects 30 mm above the 200 mm end panels. Clamp it level. Drill two 3 mm pilots through each end panel into the handle, offset vertically by about 15 mm to avoid splitting, and secure each end with two 3.5 × 30 mm screws plus glue.
-
After the glue has cured according to its label, ease all outside edges with 120-grit paper or a block plane. Do not round plywood edges so much that veneer layers break away. Sand faces to 180 grit, remove dust, and fill only cosmetic screw recesses if desired.
-
Apply two or three thin coats of a suitable finish, allowing the stated drying time and lightly sanding between coats if directed. Leave the inside unfinished if it will store oily tools and you prefer easy touch-up. Finish does not make plywood waterproof; keep the toolbox dry.
Quality checks
- The base sits flat with no rocking; both box diagonals are equal or within 2 mm.
- All screw heads are below the surface and no sharp screw point enters the interior.
- The handle is level, has no split around its fixing screws, and supports a gradual test load of 10 kg without movement.
- Edges are smooth enough to handle without snagging a rag or cutting skin.
Common mistakes
- Forgetting that the sides add 24 mm to the base width, producing end panels that do not fit.
- Driving screws into plywood without pilot holes, which can split the face veneer or push joints out of square.
- Using too much glue, making a slippery joint that shifts under clamps.
- Cutting the handle opening too high, leaving too little material above it for strength.
- Loading the toolbox heavily before glue has fully cured.