Build a tiny local web server: proper instructions
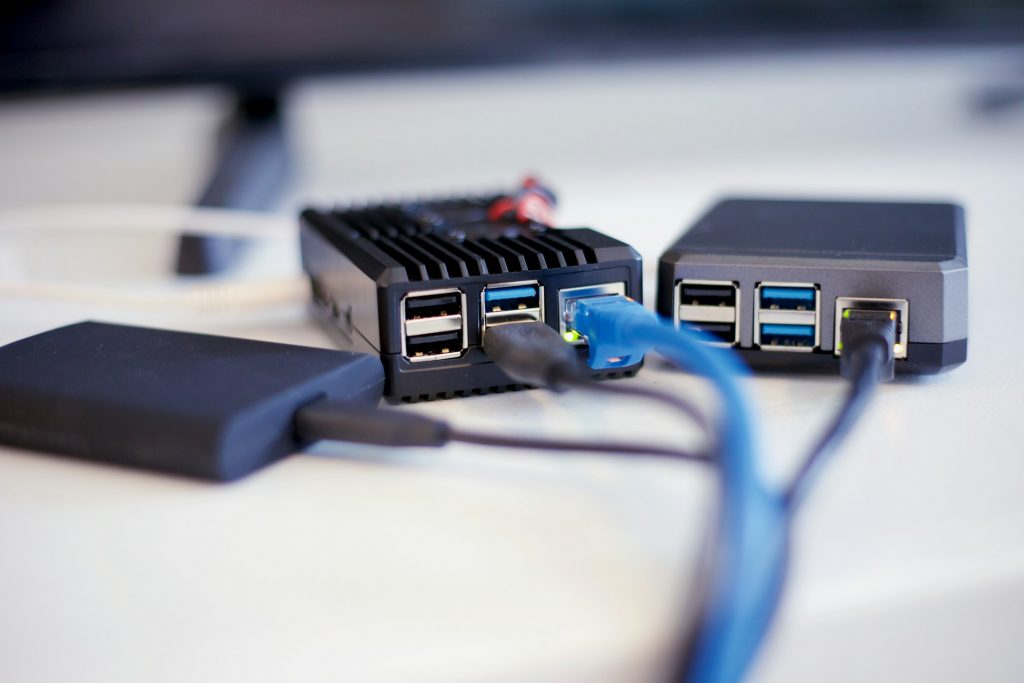
A local web server lets another device on your home network open files from your computer in a browser. Start with Python’s built-in server. It is intentionally basic: good for learning and testing, not for publishing a site to the internet.
What you need
- A computer with Python 3 installed.
- A small folder containing an
index.htmlfile. - Another device on the same home network if you want to test network access.
1. Make a harmless test page
Create a folder called tiny-server. Inside it, create index.html with a heading and one sentence. Do not use a folder containing private documents: the server can expose every file beneath the folder you start it in.
2. Start the server
Open a terminal in that folder. Run:
python3 -m http.server 8000On Windows, try py -m http.server 8000. Leave the terminal open; closing it stops the server. It should report that it is serving HTTP on port 8000.
3. Open it on the same computer
Visit http://localhost:8000 in a browser. You should see the test page. Change the HTML, save it, then refresh. That tight edit-and-refresh loop is the point of this first version.
4. Test it from another device
Find the computer’s local IPv4 address. On Windows use ipconfig; on Linux use hostname -I. From a phone or another computer on the same Wi-Fi, visit http://YOUR-LOCAL-IP:8000. If it does not open, first check that both devices are on the same network and that your firewall has not blocked Python.
5. Stop and tidy up
Return to the terminal and press Ctrl+C. This server has no authentication, HTTPS or hardening. Do not port-forward it, leave it running on an untrusted network, or treat it as production hosting.
When you are ready for the next step
For a durable local service, use a small dedicated machine and a web server such as Caddy or Nginx, keep the operating system updated, and expose it publicly only after you understand HTTPS, firewall rules and authentication.