Build a Retro Gaming Machine: proper instructions
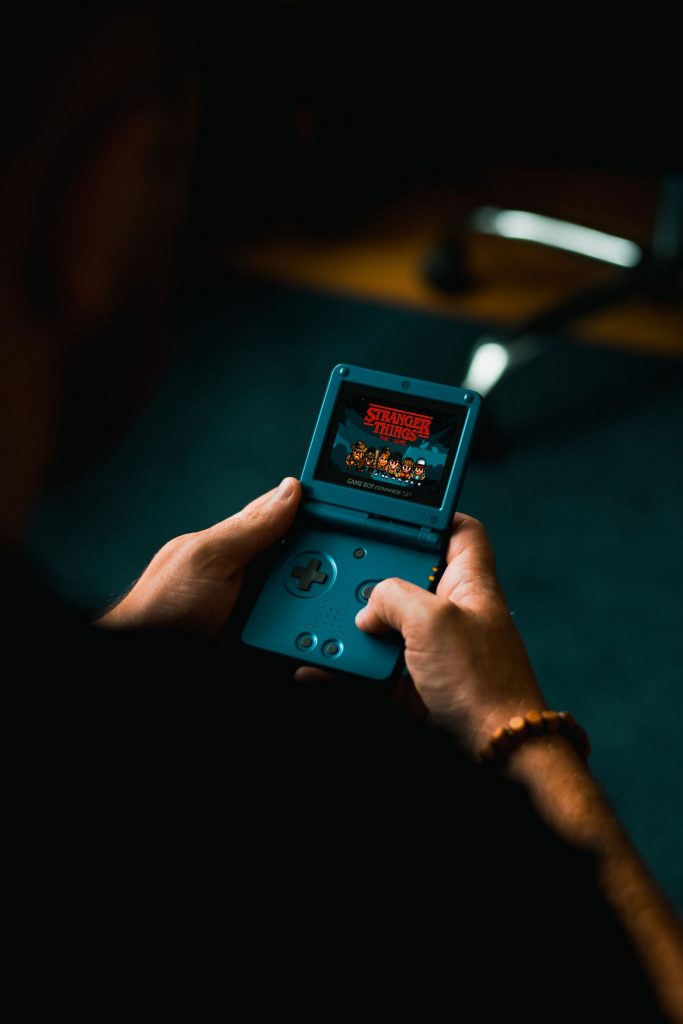
A retro gaming machine can be a compact single-board computer, an old PC, or a purpose-built small computer running an emulation-focused operating system. It is a project for playing games you own or are authorised to use. Emulators themselves are generally legitimate; game ROMs, disc images, firmware and BIOS files may be protected by copyright. Dump your own cartridges and discs where lawful, keep original media, and do not treat a downloaded file as legal merely because it is old.
Choose a sensible target
Start with the systems you want to play, not the most powerful hardware advertised. Early consoles and arcade boards run well on inexpensive hardware. Later 3D systems can need a faster mini PC, more storage and carefully chosen emulators. A Raspberry Pi-class board is quiet and low-power; a refurbished small-form-factor PC is often better value for demanding platforms. Decide whether the machine lives under a television, in an arcade cabinet or on a desk, because that determines controller cables, display connection, case and cooling.
- Hardware: computer, quality power supply, microSD card or SSD, case with ventilation, HDMI cable, controller and keyboard for setup.
- Optional hardware: powered USB hub, Ethernet cable, external SSD, Bluetooth controller, USB arcade encoder and a small UPS.
- Software: an established image such as Batocera or RetroPie-compatible software for suitable hardware, plus official documentation for your model.
- Content: legally obtained ROMs, disc images and any required BIOS files, organised on a separate computer first.
Prerequisites and electrical safety
Use the power supply specified for the computer. Cheap USB supplies can cause low-voltage warnings, crashes and corrupted cards. Power the machine down from the menu before removing storage. Static electricity can damage bare circuit boards, so touch grounded metal before handling them and hold boards by the edges. Keep the case ventilated, secure loose cables, and avoid leaving a small computer on carpet or inside a sealed television cabinet. If using an old CRT, do not open it: high-voltage parts remain hazardous even when unplugged.
Practical setup
- Read the compatibility list for your intended operating-system image and download it only from the project’s official site. Confirm the image matches the exact board or PC architecture.
- Verify the download checksum when the project publishes one. Write the image to the microSD card or SSD using a reliable imaging application. The target drive will be erased, so identify it by capacity before writing.
- Insert the storage, connect HDMI, a wired controller or keyboard, and Ethernet if available. Boot the machine and complete the first-run wizard. Set region, display resolution and language.
- Connect to your home network. Prefer Ethernet for initial updates and transferring larger disc images. Apply the operating system’s updates, then restart as requested. Do not interrupt an update by removing power.
- Configure controllers in the front end. Map the main face buttons, directions, start/select and a dedicated hotkey or menu button. Avoid assigning an important game button as the exit hotkey alone; a combination is safer.
- On your other computer, organise games in folders by system. Transfer only your lawful files over the network share or by safely mounted USB storage. Keep the original folder structure until you have confirmed the front end recognises it.
- Place required BIOS files only in the location specified by the distribution and use the exact filenames it documents. Use its built-in BIOS checker if available rather than guessing from online lists.
- Refresh the game library, then launch one title from each system. Configure a suitable emulator core only after establishing that the default works.
- Adjust display options gradually. Integer scaling and correct aspect ratio help 2D games look natural; shader effects are optional and can reduce performance. Disable features one at a time if sound or video stutters.
Testing and troubleshooting
- Test every controller direction and button in the configuration screen, then in a game. Check two-player input if relevant.
- Launch a known-good game from each target platform, play for ten minutes, save, return to the menu and reload the save.
- Restart the machine and confirm the library, settings and saves remain present.
- Check audio through the intended television or amplifier. HDMI audio selection is a frequent cause of apparent silence.
- Watch temperatures during a longer demanding game. Add cooling or reduce settings if the machine throttles or locks up.
Backups, security and common mistakes
Copy the complete system card or SSD after the build is stable, and separately back up ROMs, BIOS files, saves, screenshots and configuration files. Saves deserve special attention: cloud synchronisation can be useful, but conflict handling must be understood before enabling it. Keep a second copy away from the machine. Use a strong Wi-Fi password, install updates from official sources, and disable SSH, file sharing or remote access unless you actively need them. Never expose the device’s administration services to the public internet.
- Common mistake: using an underspecified power supply and blaming the emulator for random crashes.
- Common mistake: changing several emulator settings at once, making regressions difficult to undo.
- Common mistake: mixing BIOS files into game folders or renaming them casually.
- Common mistake: pulling the power plug, which can corrupt storage and lose saves.
- Common mistake: expecting one inexpensive board to emulate every console perfectly. Match expectations to tested hardware.
Document the image version, controller mappings and storage layout. That turns a future rebuild from a weekend of guessing into a short restore job.