Make a small bookshelf from scrap timber: proper instructions
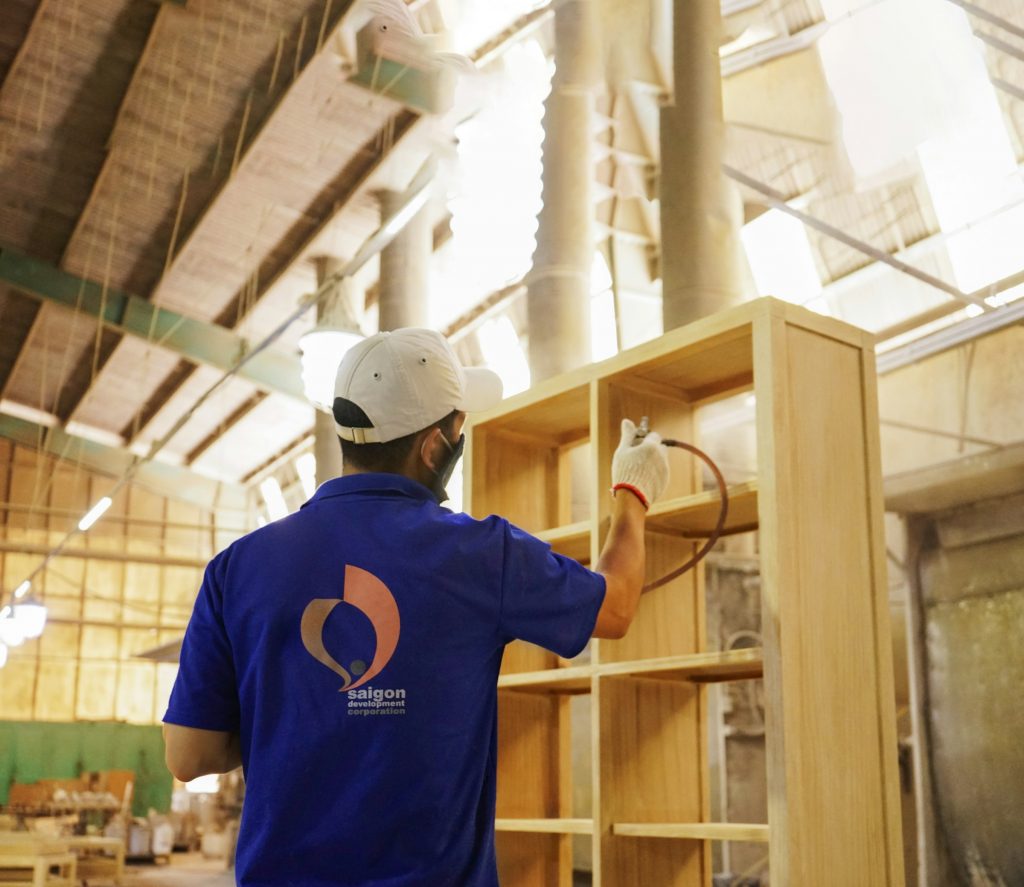
A small wall-adjacent bookshelf is an excellent use for sound offcuts, but scrap timber needs more preparation than purchased boards. This design is a freestanding, open-front unit with two shelves. Finished outside dimensions are 600 mm high, 500 mm wide and 220 mm deep. It is suitable for paperbacks and ordinary hardbacks, not for climbing, seating or a large collection of heavy art books. The shelves sit between the sides, so their finished width is 464 mm when 18 mm side boards are used.
Tools and materials
- Scrap solid timber, plywood or furniture board, minimum 18 mm thick, enough for the cut list
- Wood glue and 4 × 45 mm countersunk wood screws; 3 × 20 mm screws for a back brace if used
- Two 500 × 40 × 18 mm back braces, preferably from straight scrap
- Tape measure, pencil, combination square, straightedge, clamps and winding sticks or a known-straight board
- Hand saw or circular saw with guide, drill/driver, 3 mm pilot drill, countersink bit and 5 mm clearance drill
- Sandpaper 80, 120 and 180 grit; wood filler optional; finish appropriate to the timber
- Eye protection, hearing protection and dust mask
Cut list
| Part | Quantity | Finished size in mm |
|---|---|---|
| Sides | 2 | 600 × 220 × 18 |
| Top | 1 | 464 × 220 × 18 |
| Bottom | 1 | 464 × 220 × 18 |
| Middle shelf | 1 | 464 × 220 × 18 |
| Back braces | 2 | 500 × 40 × 18 |
Safety and material selection
Inspect every scrap before cutting. Reject boards with rot, insect tunnels, severe cupping, loose knots at an edge, embedded metal, water damage or a persistent twist. Remove all nails and staples, then scan carefully with a magnet if the timber’s history is uncertain. Wear eye protection for cutting and drilling, hearing protection for machinery, and a dust mask when sanding old finishes or sheet goods. Treat unknown old painted timber as potentially hazardous: do not sand it indoors or create dust until its coating is identified. Clamp work securely and never balance boards across unsupported chairs or bins.
Measured build steps
-
Choose the straightest matching boards for the 600 mm sides. Place each board on a flat surface and check for rocking. If the scrap is slightly rough but sound, plane or sand only enough to create mating surfaces; do not reduce one part so much that thickness differs visibly. Cut all pieces square. For each 464 mm shelf, measure both diagonals; they should match within 1–2 mm.
-
Mark shelf positions inside both sides. Measure from the bottom of each side and draw square lines at 18 mm, 291 mm and 564 mm. The bottom shelf top aligns at 18 mm, the middle shelf top at 291 mm, and the top shelf underside at 564 mm. These positions leave approximately 255 mm clear lower and upper compartments after allowing for 18 mm shelf thickness.
-
Dry-fit the bottom, middle and top between the sides. The outer width should be 500 mm: 18 + 464 + 18. Use clamps and check the case for square by measuring diagonals from opposite outside corners. Adjust until the diagonal measurements are equal before drilling.
-
Fasten the bottom shelf first. Apply a thin bead of glue to each shelf end, clamp it on the 18 mm reference lines, then drill two 3 mm pilot holes through each side into each shelf end. Keep centres about 50 mm and 170 mm from the front edge, and stay centred in the 18 mm shelf thickness. Countersink and drive four 4 × 45 mm screws.
-
Install the middle shelf on the 291 mm lines with the same glue, clamp, pilot-hole and screw pattern. Use a square against the front edge to ensure it is not tilted. Then fit the top shelf with its underside on the 564 mm marks. Work on a flat floor or bench so the side panels cannot rack while screws are driven.
-
Fit the two back braces to stop racking. Lay the assembled bookcase face down on a protected flat surface, square it again by matching corner diagonals, and place one brace flush across the top back and one flush across the bottom back. Drill 3 mm pilot holes through each brace into both sides and into each shelf it crosses. Use 3 × 20 mm screws so they do not pierce the 18 mm shelf face. A thin bead of glue at the brace ends adds stiffness.
-
Stand the bookcase upright on a known-flat floor. If it rocks, identify the high corner with paper shims; plane or sand only that bottom edge a little at a time. Do not force the unit flat with a screw into the wall, because that can distort the shelves.
-
Ease exposed edges with 120-grit abrasive, then sand faces to 180 grit. Break sharp corners lightly rather than rounding them heavily. Vacuum or wipe off dust. Apply paint, varnish or oil according to its instructions, including drying time and ventilation. Finish all sides of solid timber where practical to reduce uneven moisture movement.
-
Place the finished unit against a wall. If children, pets, earthquakes, uneven floors or tall loads make tipping plausible, anchor its upper back to suitable wall structure using an appropriate anti-tip bracket and fixings. Wall material determines the correct fixing; do not rely on plasterboard alone for a loaded bookcase.
Quality checks
- Outside width measures 500 mm and shelves are level when checked with a spirit level or straightedge.
- The case does not rack when pushed diagonally at the top; back braces remain tight.
- All screws are countersunk, no points break through, and no splinters remain on front edges.
- Load each shelf gradually and evenly with 10 kg for several hours. There should be no loosened joint or obvious sag.
- The unit stands without rocking and is anti-tip restrained where its location or use requires it.
Common mistakes
- Mixing warped scrap boards without checking them, then trying to pull a twisted case square with screws.
- Cutting shelves to the outside width instead of subtracting both 18 mm sides.
- Driving long screws without pilots and splitting shelf ends.
- Omitting the back braces: an open box can look square but rack badly in use.
- Loading one side of a shelf with heavy books, or assuming a small freestanding unit cannot tip.