Service your bicycle: proper instructions
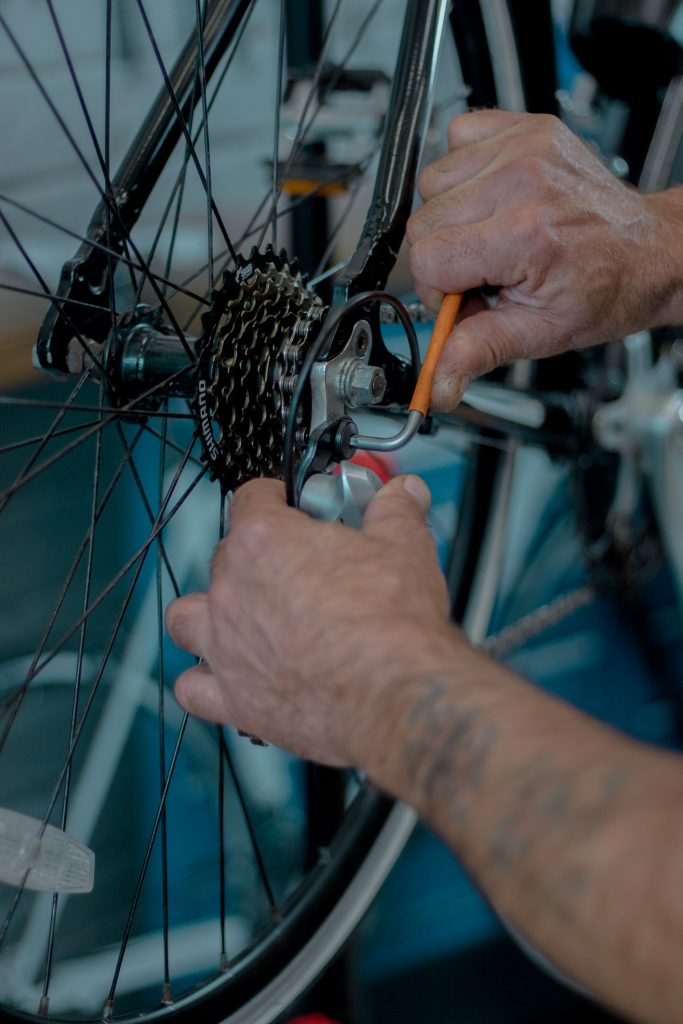
A regular home service keeps a bicycle quieter, safer and cheaper to own. For a normally used bicycle, clean and inspect it monthly, lubricate the chain after wet rides, and carry out this fuller service every few months or before a long trip. The aim is adjustment and condition checking, not dismantling every bearing. If you find a crack, a loose crank, a damaged carbon component, hydraulic-brake leak, or a wheel with several loose spokes, stop and arrange competent repair.
Tools and materials
- Clean rags, bucket, soft brush, bicycle-safe cleaner and chain degreaser
- Chain lubricant suited to wet or dry conditions; light grease
- Floor pump with gauge, tyre levers and a puncture kit
- Allen keys, 8–17 mm spanners, Phillips/flat screwdrivers and torque wrench where manufacturer torque is specified
- Ruler, tyre-pressure guide from the tyre sidewall, torch and disposable gloves
- Replacement brake blocks, cables, chain quick link or inner tube if inspection requires them
Safety preparation
Use a stand if possible, or support the bike so it cannot fall while the wheels are spun. Keep fingers away from chainrings, jockey wheels and rotating spokes. Never turn pedals with a rag wrapped around the chain. Avoid high-pressure water: it drives water and grit through seals into hubs, bottom brackets and headsets. Keep lubricants off disc rotors, pads and rim braking surfaces. If this is a disc-brake bike, do not pull a hydraulic lever with the wheel and pad spacer removed.
Measured service method
-
Make a baseline check before cleaning. Squeeze each brake lever, move each wheel sideways at the rim, and hold the front brake while rocking the bicycle. Note any lever reaching the grip, bearing play, headset knock, creak or stiff steering. Measure tyre pressure before topping up, so a sudden recurring loss is noticeable.
-
Brush loose dirt from the frame, fork, wheels and drivetrain. Apply degreaser only to chain, cassette, chainrings and derailleur pulleys. Wash with low-pressure water and cleaner, avoiding direct spray at bearing seals. Rinse lightly and dry completely with rags; water left in cable ends and chain rollers causes corrosion.
-
Inspect tyres while rotating each wheel. Remove embedded glass with a pick, but replace a tyre with casing threads showing, sidewall cracks, bulges or cuts that expose fabric. Check the moulded tyre size and pressure range. Inflate within that range; use the lower part for rough ground and comfort, and increase moderately for heavier loads, while never exceeding the marked maximum.
-
Spin each wheel and watch the gap between rim and brake block or fork blade. A small wobble is often tolerable; a rim that rubs continuously, has a dent, or has loose/broken spokes needs wheel work. Squeeze pairs of adjacent spokes gently: their tension should feel broadly consistent. Do not randomly tighten spokes, as this can worsen the wheel.
-
Check rim brakes with the wheel fitted. Pads must strike the rim track, not tyre or spokes, and retain visible grooves. Set released-pad clearance to roughly 1–2 mm each side. Pull the lever hard: it should engage well before the handlebar. On disc brakes, inspect pad material through the calliper; replace pads before backing plate is near the rotor, and ensure the rotor is clean and not badly scored.
-
Examine cables and housing. Replace an inner cable with broken strands, rust, a crushed section or a damaged nipple. Check housing ends are seated in their stops. For mechanical brakes, looseness at the lever can often be taken up with the barrel adjuster, but leave enough free movement for the pads to release fully.
-
Clean the chain using a rag and degreaser, then dry it. Measure 12 full links under light tension. A measurement greater than 304.8 mm by about 1.6 mm indicates a worn chain suitable for replacement. Add one small drop of chain lubricant to each roller while back-pedalling, wait a few minutes, then wipe all exterior oil away. A wet black outer chain attracts abrasive grit.
-
Shift through every rear and front gear while turning the cranks by hand. If one shift hesitates, turn the relevant barrel adjuster a quarter turn at a time, testing after each adjustment. Before tuning, verify the derailleur hanger is not visibly bent and confirm limit screws prevent the chain falling off either end of the cassette or chainrings.
-
Check bolts without blindly tightening everything. Confirm stem faceplate, handlebar, saddle clamp, seatpost clamp, brake mounting bolts, mudguard bolts, rack bolts, cranks and pedals are secure. Use the component maker’s torque value if printed. Carbon bars, stems, frames and seatposts must be tightened with a torque wrench to the specified value; over-tightening can cause hidden failure.
-
Check bearing play. Hold a crank arm and push side to side; it should not knock. Hold the top of the front wheel and push sideways; there should be no hub play. Hold the front brake and rock the bike to detect headset movement. Adjust cup-and-cone bearings only if you know their system; sealed units that are rough or loose are usually replaced.
-
Wipe the bicycle dry, apply a tiny smear of grease to exposed steel bolt threads only where appropriate, and record the date, odometer reading, pressure and parts changed. Take a short test ride in a traffic-free area before relying on the bicycle.
Quality checks
- Tyres hold chosen pressure for 24 hours and show no bulge or casing damage.
- Both wheels are fully seated and their retention devices or axle nuts are secure.
- Both brakes stop the bicycle decisively; rim-brake pads meet only the rim and disc rotors remain oil-free.
- Bars and saddle do not move when firmly twisted by hand, while steering turns freely.
- Every gear selected on the stand is retained on a gentle test ride without chain derailment.
Common mistakes
- Spraying lubricant across the whole drivetrain, contaminating brakes and collecting dirt.
- Using a pressure washer around bearings and suspension pivots.
- Adjusting derailleur screws before confirming a worn cable, bent hanger or worn chain.
- Inflating tyres by thumb feel alone when a gauge is available.
- Using maximum torque as a goal instead of the correct torque for the component.