Install Linux in a virtual machine: proper instructions
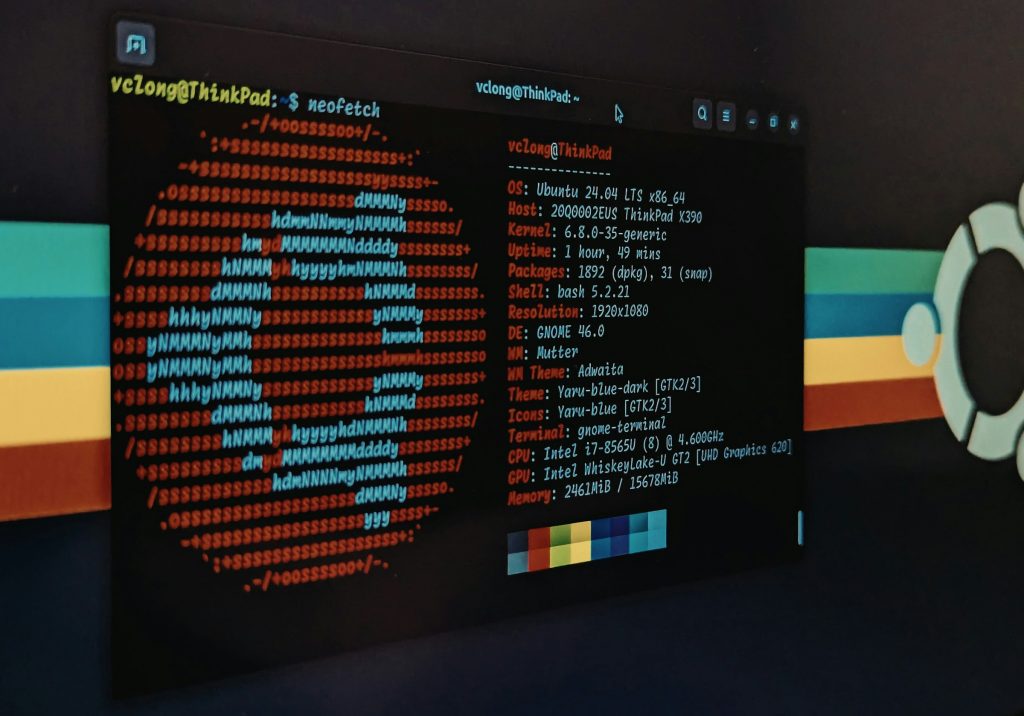
A virtual machine runs Linux as a guest inside a window on an existing computer. Its virtual disk is normally a file on the host, which makes it a good place to learn installation, command-line work and application testing without partitioning the host drive. It is still a real operating system: allocate resources sensibly, update it and make a snapshot before experiments.
Prerequisites
- A 64-bit host with hardware virtualisation enabled. Intel calls this VT-x; AMD commonly labels it AMD-V or SVM.
- At least 8 GB host memory for a comfortable desktop guest, and about 30 GB free storage including space for snapshots.
- VirtualBox, VMware Workstation Player or another maintained hypervisor from its official source.
- A Linux ISO from the distribution’s official website, with its SHA-256 checksum.
Prepare the host
- Install host updates and update the hypervisor. Restart if its installer asks.
- On Windows, open Task Manager, Performance, CPU and confirm Virtualization says Enabled. On Linux, run
lscpuand inspect the virtualisation line.
- If it is disabled, enter UEFI or BIOS setup and enable only the VT-x, AMD-V or SVM option. Save and boot the host again.
- Verify the ISO before use. PowerShell can calculate it with
Get-FileHash ./linux.iso -Algorithm SHA256. Linux and macOS use
sha256sum linux.iso.
Create the guest
- Create a machine with a meaningful name such as
Ubuntu-Lab, select Linux as the type and attach the ISO as optical media. - Allocate two virtual processors and 4 GB memory for a usual graphical desktop when the host can afford it. Do not give the guest all cores or most host memory.
- Create a 25–40 GB virtual disk. Dynamic allocation initially uses only written space but can still grow to its configured maximum; ensure the host has room.
- Use NAT networking for a first VM. It usually gives the guest web access without placing it as a directly reachable device on the local network.
- Review the machine settings before starting. The virtual disk should be new, the ISO should be attached, and the guest should not have access to a physical host disk.
Install and check
- Start the VM and select the installer or live environment. Set language, keyboard and time zone, then test the keyboard in a text field.
- For storage, select the newly created virtual disk shown by its expected small size. It is normal for guided partitioning to erase this virtual disk. Stop if an unfamiliar physical drive appears.
- Create a standard user and unique passphrase, finish installation, then detach the ISO before rebooting. Otherwise the VM can restart the installer.
- Log in and run
cat /etc/os-releaseto confirm the installed distribution. Run
lsblkand
df -hto confirm disk and free space.
- Apply updates using the distribution’s updater. For Ubuntu or Debian, review the summary from
sudo apt update
sudo apt upgrade
before accepting it.
- Install supported guest tools for display resizing and pointer integration, reboot, cleanly shut down, then create a snapshot named
Fresh install.
Safety, rollback and mistakes
A snapshot returns the VM configuration and virtual disk to an earlier state. It is not an independent backup; important guest files need a copy outside the VM. Before untrusted software, disable shared folders, shared clipboard and drag-and-drop, use NAT and make a powered-off snapshot. Never configure raw physical disk access for a learning machine.
-
No 64-bit option: enable VT-x or AMD-V in firmware and check whether another hypervisor layer is occupying it. -
Host is slow: shut down the guest and reduce assigned memory or CPUs. -
No guest internet: confirm the network adapter is enabled and attached to NAT, then reboot before changing more settings. -
Installer repeats: detach the ISO or put the virtual disk before optical media in boot order. -
Snapshots fill storage: retain only rollback points you need and monitor host free space.
The combination of verified media, bounded resources and a fresh-install snapshot makes the VM useful without making it disposable by accident.
Practical review before relying on it
Repeat the complete check once after a restart or on a different day. This catches assumptions caused by cached state, a forgotten setting or an incomplete first run. Record the exact version, device or location involved and keep the successful configuration with the project. When something fails, change one condition at a time, repeat the relevant check and note the result. That approach is slower than random adjustment for one attempt, but much faster when the process must be repeated or explained to someone else.
Do not treat a successful screen message as the only evidence. Check the intended output directly, check that the original data or host system is still healthy, and keep a known-good fallback. A small reversible workflow is more valuable than a complicated one that only works once. When the task becomes routine, keep the same final verification rather than assuming automation removes the need to inspect outcomes.