Make a bootable Linux USB: proper instructions
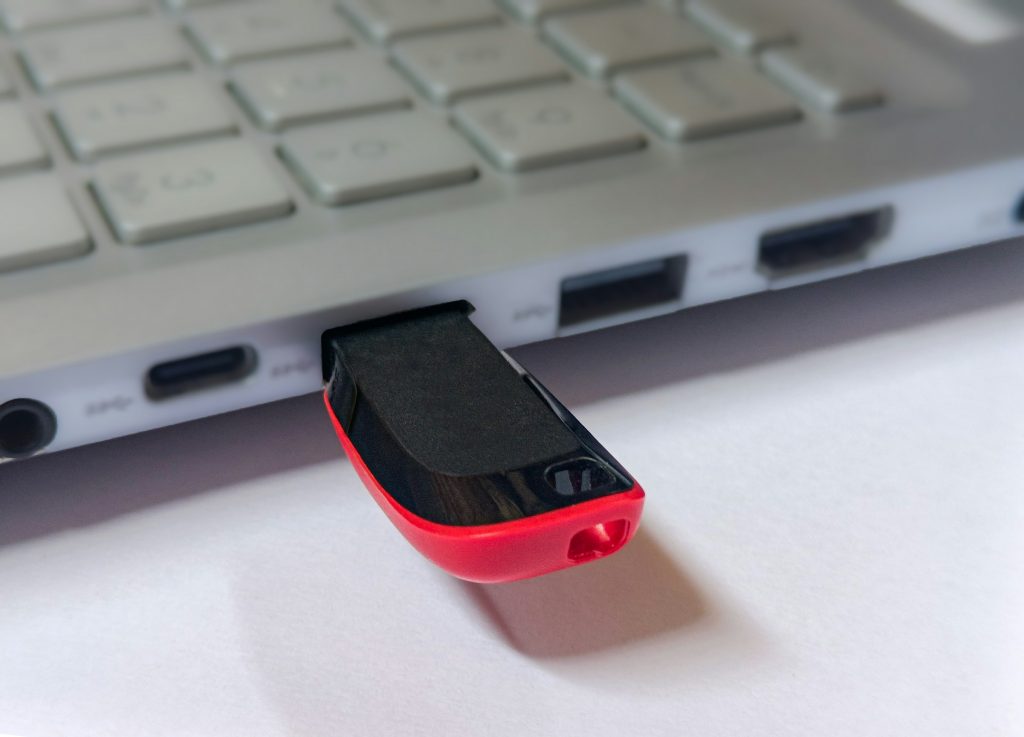
A bootable Linux USB starts a computer from a Linux installer rather than its internal drive. It is useful for installing Linux, testing a live desktop and repairing a system. The USB-writing process erases the selected removable drive, so the important skills are checking the download, identifying the correct device and testing the finished media before depending on it.
Prerequisites
- An 8 GB or larger USB flash drive. Copy off anything important because it will be erased.
- A stable connection, enough space for a 3–6 GB ISO, and administrator permission if the writer requests it.
- The destination computer and its firmware boot-menu key. F12, F11, Esc and F9 are common but not universal.
- A backup of important files on the destination computer before any later installation work.
Download and verify the installer
- Download an ISO only from the Linux distribution’s official website. Avoid advert links, repacked images and unverified file-sharing sites.
- Find the SHA-256 checksum published for that exact ISO. A checksum confirms a completed download is the file released by that publisher; it does not make an unofficial publisher trustworthy.
- In Windows PowerShell, run
Get-FileHash ./linux.iso -Algorithm SHA256. On Linux or macOS run
sha256sum linux.iso. Replace the filename with the actual ISO name.
- Compare every checksum character. If it differs, delete the download and obtain it again. Do not write an image that failed verification.
Write the USB
Use a reputable image writer such as Balena Etcher, Fedora Media Writer, or Rufus on Windows. Etcher is a simple cross-platform choice because it verifies after writing. Rufus supplies useful partition controls, but use its defaults unless you know the destination’s firmware requirements.
- Unplug other removable storage, then insert the target USB. This makes the device list less ambiguous.
- In the writer, select the verified ISO and select the USB by both its maker and its capacity. Never choose a device merely because it is first in the list.
- Read the erase warning and check the device once more. Start the write only after that check. Keep the computer awake and do not remove the drive during the operation.
- Wait for writing and verification to complete. A verified write provides stronger evidence than a writer that merely reports bytes copied.
Firmware compatibility
For a modern UEFI computer, Rufus normally selects GPT and UEFI automatically. A genuinely old BIOS-only machine may need MBR. Most mainstream current distributions boot with Secure Boot enabled. If booting fails, use a newly verified ISO and the writer defaults before changing several firmware settings together. Change one factor at a time so the cause stays clear.
Test without installing
- Safely eject the USB, keep it connected, then restart the destination computer.
- Open the one-time boot menu and choose the entry labelled
UEFIand the USB name where available. A one-time choice avoids changing permanent boot order. - Select Try or Live Linux when offered. Check that the desktop loads, input works and the installer can see storage. Do not select Install merely to test the stick.
- Shut Linux down, remove the USB after the machine powers off, and confirm the existing operating system still boots normally.
Safety, recovery and mistakes
Creating the USB does not alter the internal disk. Installation later can, so retain separate backups and record any Windows BitLocker recovery key before changing partitions or firmware settings. Disconnect external drives not needed for installation. To reuse the USB, format the whole removable device normally after confirming its identity.
-
USB is absent from the boot menu: power off fully, reconnect directly to another USB port, and check that external boot is allowed in firmware. -
Boots to a black screen: use a safe-graphics option if supplied. This is often a graphics-driver issue rather than a bad write. -
Windows shows less USB capacity afterwards: image writers create Linux partitions Windows may not display. Reformat the correct device to reclaim capacity. -
Wrong drive was selected: stop immediately. Do not write further data to it; recovery may be possible but is not guaranteed.
A verified ISO, a deliberate device selection and a successful live boot are the practical checks for dependable installation media.
Practical review before relying on it
Repeat the complete check once after a restart or on a different day. This catches assumptions caused by cached state, a forgotten setting or an incomplete first run. Record the exact version, device or location involved and keep the successful configuration with the project. When something fails, change one condition at a time, repeat the relevant check and note the result. That approach is slower than random adjustment for one attempt, but much faster when the process must be repeated or explained to someone else.
Do not treat a successful screen message as the only evidence. Check the intended output directly, check that the original data or host system is still healthy, and keep a known-good fallback. A small reversible workflow is more valuable than a complicated one that only works once. When the task becomes routine, keep the same final verification rather than assuming automation removes the need to inspect outcomes.