Make bread without a bread maker: proper instructions
What you need
For one medium loaf, use 500 g strong white bread flour, 7 g fast-action dried yeast, 10 g fine salt, 325 ml lukewarm water, and 15 ml olive oil or softened butter. A large mixing bowl, digital scales, dough scraper or spatula, clean work surface, loaf tin or baking tray, tea towel or reusable cover, and a sharp knife or lame are useful. An instant-read thermometer is helpful but not essential. Strong flour matters: its higher protein content makes the gluten network that lets the loaf rise. Plain flour will make a loaf, but it will usually be lower and softer.
Before you start
Check the yeast packet is in date. Water should feel pleasantly warm, not hot; about 35–40°C is suitable. Hot water can kill yeast, while cold water slows the first rise. Keep the salt separate from the yeast until the flour has been mixed, because a concentrated patch of salt can inhibit yeast. If your kitchen is cold, allow more time rather than adding extra yeast.
Method
1. Mix the dough
Put the flour in the bowl. Add yeast to one side and salt to the other. Pour in most of the water and the oil, then stir with your hand or spatula. Add the remaining water a little at a time until no dry flour remains. The dough should be soft and slightly tacky, not wet enough to pour. Resist adding flour immediately: a dough that feels sticky at first becomes easier to handle as the flour hydrates.
2. Rest, then knead
Cover the bowl and leave the dough for 10 minutes. Turn it onto a lightly oiled, rather than heavily floured, surface. Knead for 8–12 minutes by pushing the dough away with the heel of your hand, folding it back, turning it, and repeating. Alternatively, lift one edge, stretch it upwards without tearing, fold it over the centre, turn the bowl and repeat for 5 minutes; rest for 5 minutes, then repeat twice. The dough is ready when it is smooth, elastic and less sticky. To check, pinch off a small piece and gently stretch it. It should form a thin, translucent ‘window’ before it tears.
3. First rise
Shape the dough into a ball and put it in a lightly oiled bowl. Cover so the surface cannot dry out. Leave in a warm, draught-free place until doubled in size, normally 60–90 minutes. Do not use an oven that is hot or switched on. A reliable warm place is an unlit oven with a bowl of hot water beside the dough. Rising time is a guide: dough is ready because it has expanded, not because a timer says so.
4. Shape the loaf
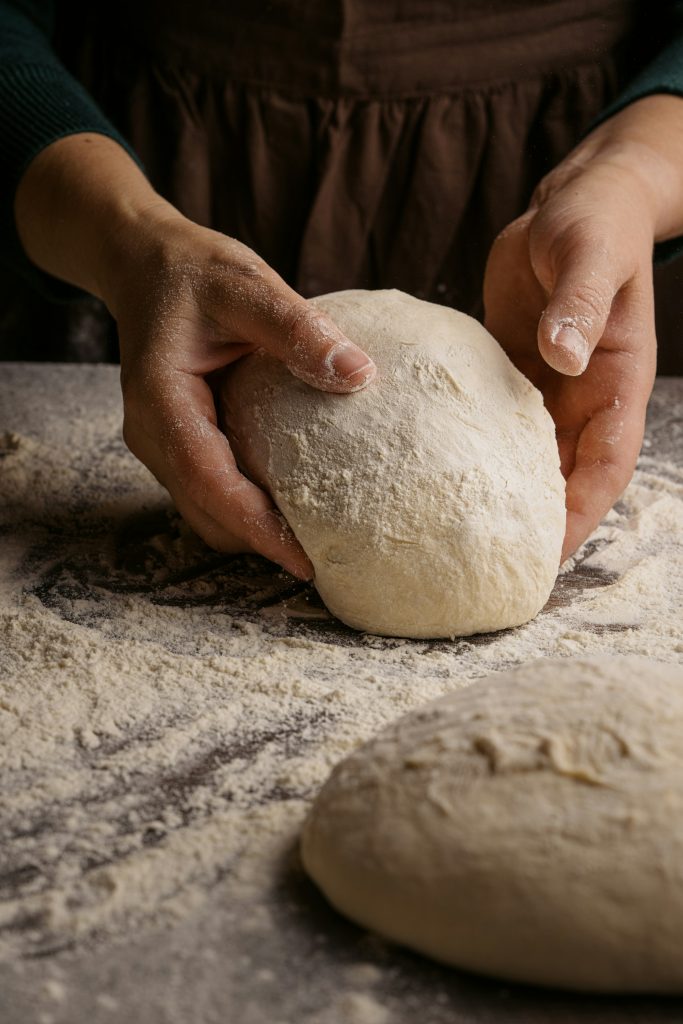
Tip the dough onto the worktop and press it gently to release the largest bubbles. For a tin loaf, flatten it into a rough rectangle no wider than the tin, fold the top third down and the bottom third up, then roll it tightly into a cylinder. Pinch the seam closed and place it seam-side down in a greased 900 g loaf tin. For a free-form loaf, pull the edges into the centre, turn it seam-side down and cup your hands around it, drawing it towards you to tighten the surface. Put it on a floured baking tray or baking parchment.
5. Prove and bake
Cover and leave until the dough has risen by about half again, usually 35–60 minutes. Meanwhile heat the oven to 220°C conventional or 200°C fan, with a baking tray inside if making a free-form loaf. When ready, a gently pressed fingertip mark should spring back slowly, leaving a slight dent. Slash the top 1 cm deep with a sharp blade. Bake a tin loaf for 30–35 minutes, or a free-form loaf for 25–30 minutes. For a crisper crust, place a small metal roasting tin on the oven floor and carefully add a cup of boiling water just after loading the bread; keep hands away from the steam.
How to tell it has worked
The loaf should be well browned, sound hollow when tapped underneath, and feel light for its size. If using a thermometer, the centre should be about 94–98°C. Lift it from the tin immediately and cool on a rack for at least one hour before slicing. Cutting hot bread compresses the crumb and makes it seem gummy even when properly baked. A good loaf has an even, springy interior with small to medium holes and a crust that is dry, not leathery.
Common problems
A dense loaf usually means under-kneading, old yeast, too little rising time, or a dough made too stiff with extra flour. A loaf that rises then collapses has probably over-proved; bake sooner next time and judge by the slow-springing finger test. A pale, soft crust means the oven was too cool or the loaf was removed early. If the base burns, bake one shelf higher or place a spare tray beneath the tin. Large tunnels often come from shaping loosely or leaving one oversized air pocket. Weigh ingredients rather than using cups for repeatable results.
Safety and storage
Use oven gloves for tins, steam and hot trays. Keep children clear when adding water to a hot tray, as steam can scald. Cool fully, then store the loaf cut-side down on a board for the first day or in a paper bag; plastic makes a crisp crust soften. Freeze sliced bread in a sealed bag once cool and toast slices from frozen. Discard bread with visible mould rather than cutting the mould away.